


SEJournal Online is the digital news magazine of the Society of Environmental Journalists. Learn more about SEJournal Online, including submission, subscription and advertising information.
March 6, 2019
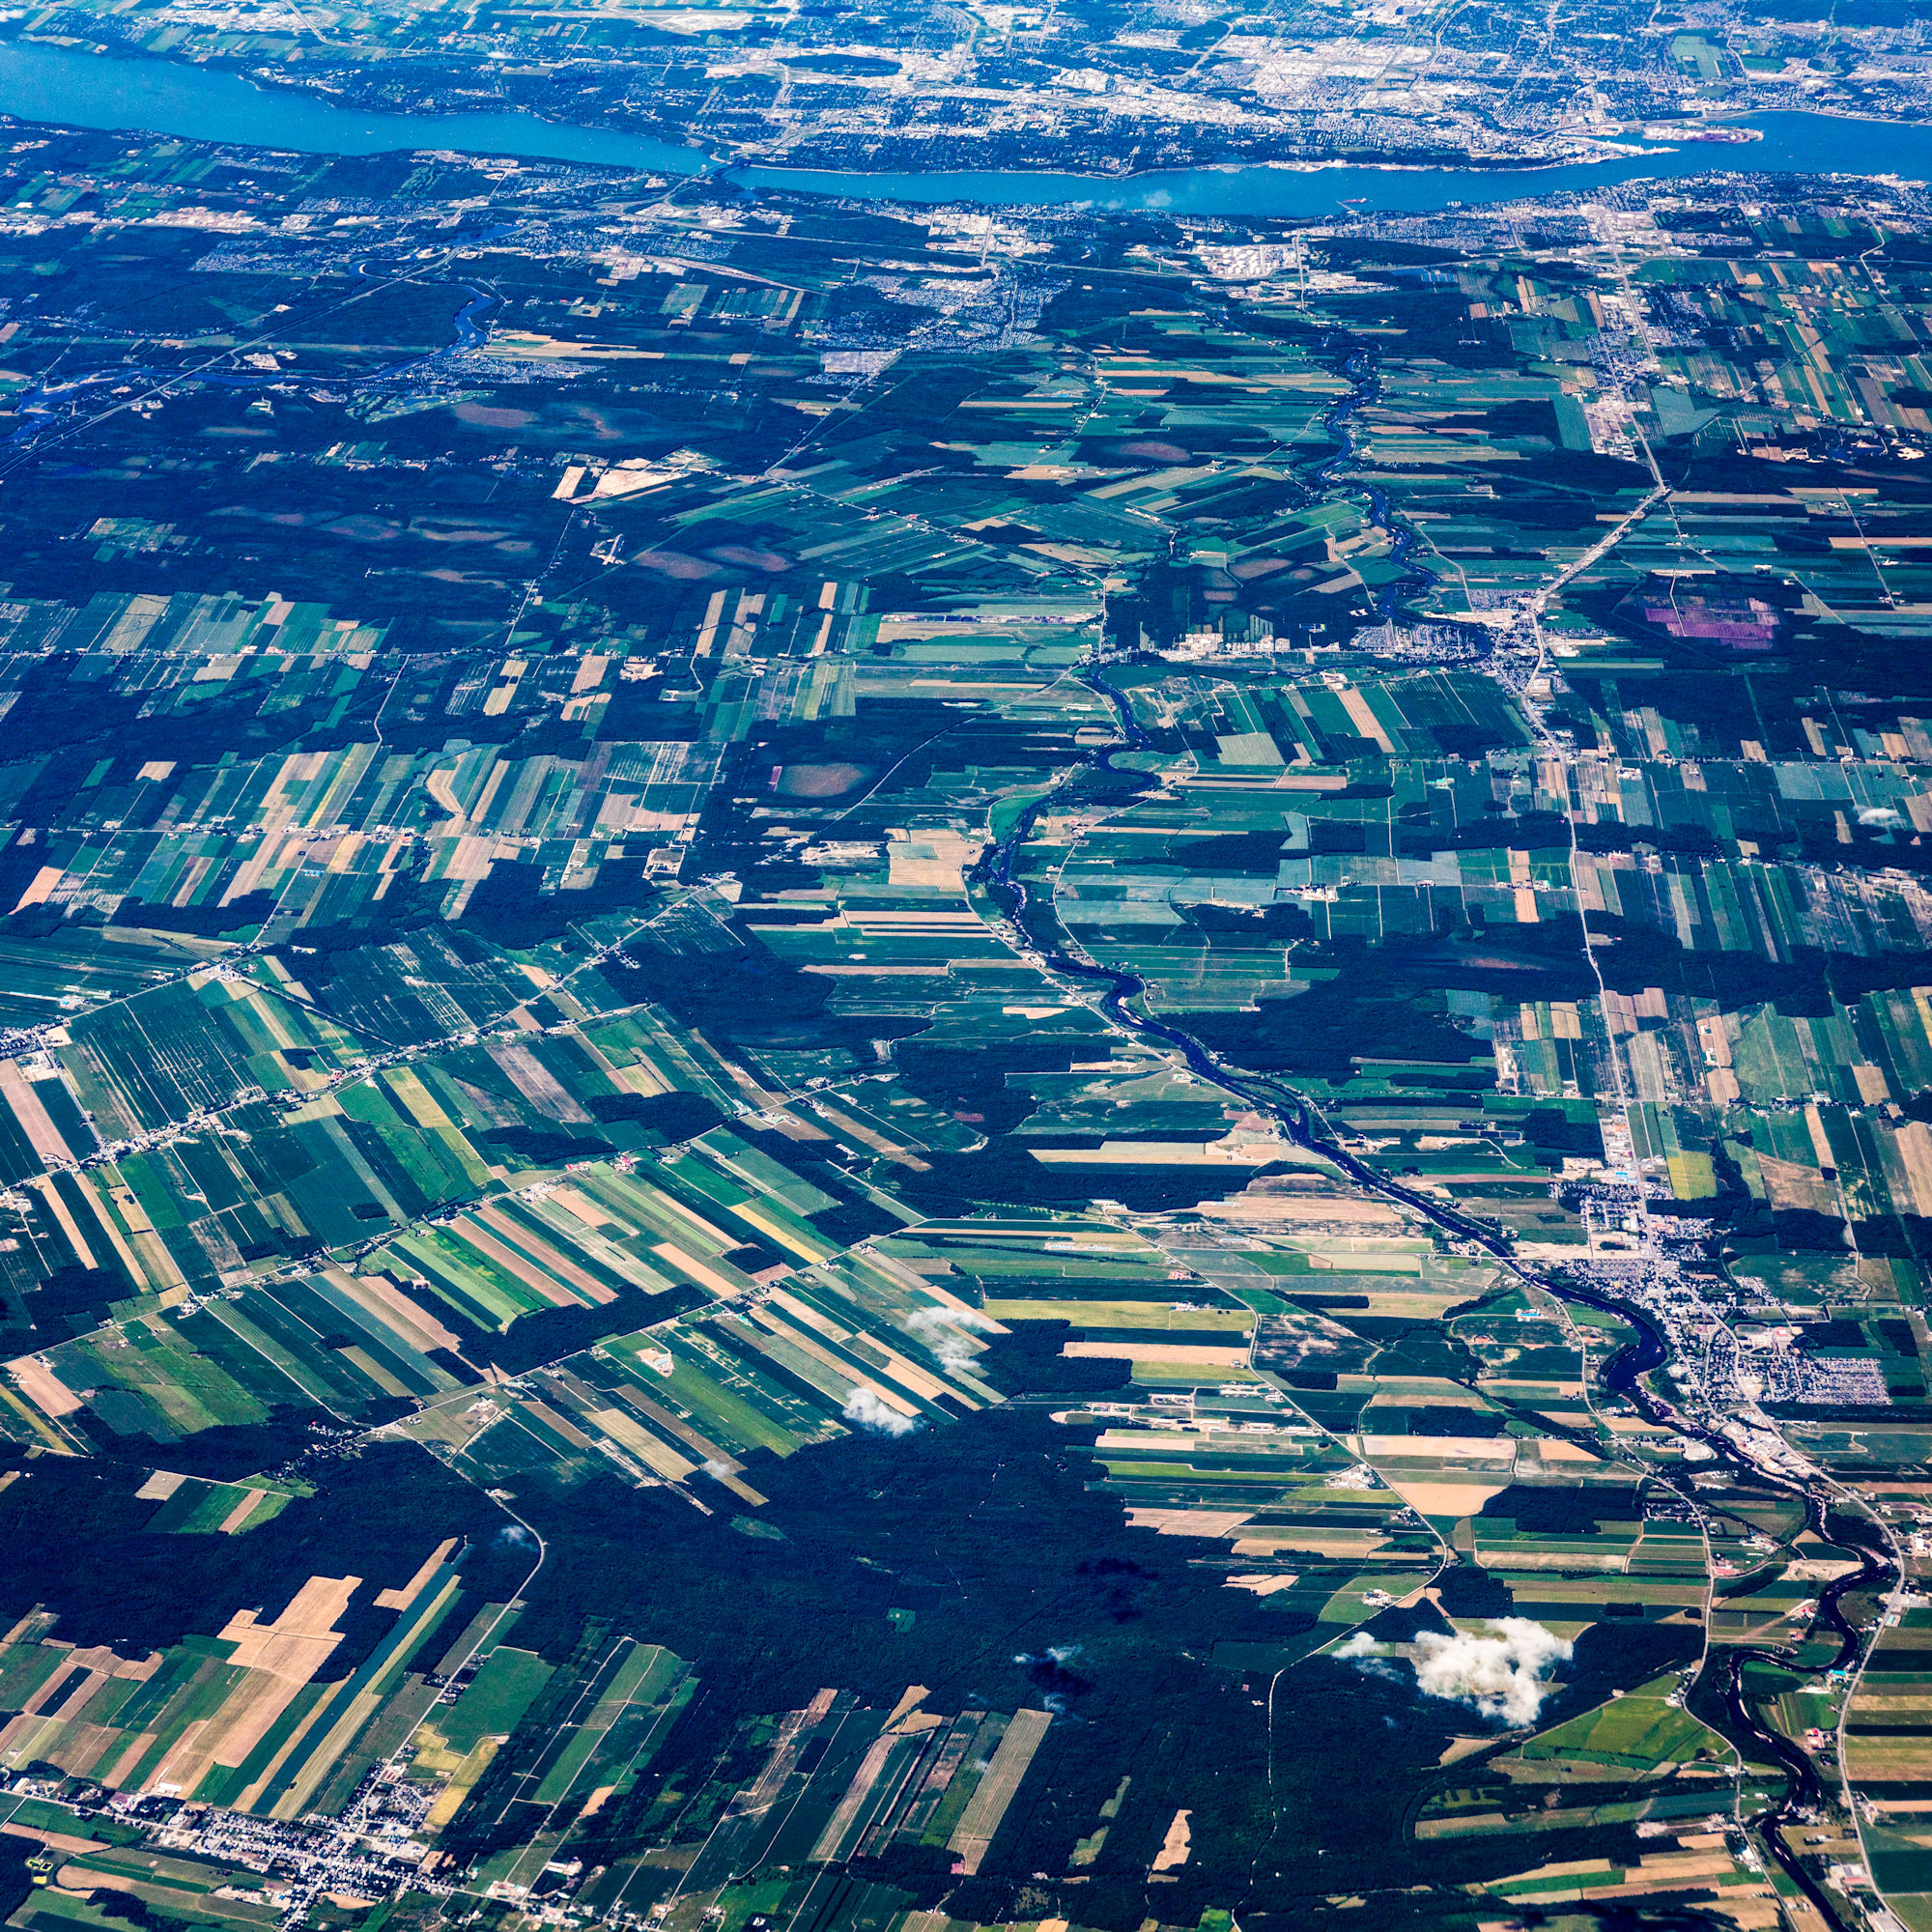 |
| An aerial panorama taken by the author south of Quebec City, July 2017, one of a series of experimental images. Photo: Dennis Dimick. Click to enlarge. |
EJ InSight: Perfecting Your Panorama Technique
By Dennis Dimick
Editor’s Note: See the related EJ InSight column, “EJ InSight: Capturing a Planet on the Fly.”
Shooting panoramas (or even just single images) from passenger airplanes first requires getting a window seat with a clear view.
The best viewing spots in coach are the first few rows, so try to get as far forward as possible on the side away from the sun in front of the wing. That way your view is not blocked by a jet engine. Then hope that the window lines up with your seat.
Unfortunately, there are very few seats in these planes that allow good photography. And if you are behind the wing try to sit as far back as possible in hopes of getting a clear ground view.
When booking your flight, notice the flight time of day. Earlier and later flights offer best light for landscape shape and detail. Plastic windows in airplanes severely degrade the view if sun shines directly on them, another reason to sit on the side away from the sun.
A wider view without a wide-angle lens
The advantage with aerial and ground panoramas is that they allow a wider view without needing a wider angle lens.
I shoot many panoramas using the equivalent of a 35mm lens on a full frame camera. Combining several images into a panorama creates an angle of view equivalent to a 24mm, 20mm or wider lens, but has the visual look of a more moderate focal length like 35mm that avoids wide-angle distortion.
Foreground details appear closer and more detailed than they would in a single frame of the same scene taken with a 16mm or 20mm wide angle lens.
And, of course, these merged images achieve far greater resolution, as I’m combining anywhere from five to eight images into a single picture.
Taking into account image overlap, a sequence of eight images from a 30-megapixel camera can produce a final panorama with more than 100 megapixels of data in the combined image.
Advice on cameras, lenses, shutter speed and exposure
As for cameras, all are usable, from phones to point-and-shoot to digital mirrorless or single lens reflex. Better quality images come from cameras with larger sensors, such as full frame or crop-frame DSLRs and mirrorless cameras, or high-end point and shoot cameras.
My typical lens is a 24-70mm zoom, which allows framing flexibility. Sometimes I’ll use a fixed length lens like a 35mm or 135mm, or a 70-200mm zoom, but it is unwieldy.
Lenses with built-in image stabilization reduce camera shake and improve image clarity. With zoom lenses it is important to keep the lens at the same focal length for all images in a sequence or you will not be able to assemble them into one image later.
As for shutter speed, try to stay above 1/1000 of a second. You can raise the ISO or light sensitivity of the camera to keep near the 1/1000 second speed to reduce image blur.
For exposure, cameras are set on aperture priority automatic. I will shoot wide open depending on light levels, but try to keep it at f/5.6 to increase resolution of detail.
I always shoot RAW files, which produces bigger files than JPEG format but gives images exposure latitude of up to 14 f-stops, which renders changes in exposure between shots irrelevant. Software autocorrects any exposure variations during image merging.
Shooting, selecting, merging images
Shooting images needed for a panorama requires anywhere from two to a half dozen single images shot rapidly as the camera is rotated on a horizontal or vertical axis.
I’ll start with the camera pointing as far down as possible towards the ground then rotate upwards to above the horizon.
Sometimes I may also turn the camera vertically and rotate it from left to right, or right to left, depending on subject and my view.
Taking the pictures is an essential
but small part of the overall process.
Many hours are spent in post-production
selecting, assembling, toning, cropping
and identifying image locations.
This is all done hand-held. I use a camera that shoots seven frames per second to acquire all images in a scene in less than a second total shooting time. Higher shutter speeds allow continuous shooting in a single rotating motion without image blur.
My main tool for merging of images is Adobe Photoshop Lightroom, which allows selection of thumbnail views of imported images in one action and then merging them into nearly finished panoramas. For years previously, this required a multi-step use of Adobe Bridge and Photoshop.
Toning images is an acquired skill, more art than science. As with text editing to simplify and clarify writing, editing and toning images is also an acquired skill that takes time and practice to master.
Besides the plastic in airplane windows that degrades image quality, the main challenge with aerials is air pollution. Fortunately, Lightroom now offers a “dehaze” filter that improves contrast and minimizes the dirty air look in pictures.
It’s important to point out that most pictures end up “on the cutting room floor.”
On a six-hour cross-country flight I usually shoot more than 2000 images to get frames for assembling 300 or so panoramas. From those 300 panoramas I might like a dozen finished images, and only one or two that are really interesting.
Taking the pictures is an essential but small part of the overall process. Many hours are spent in post-production selecting, assembling, toning, cropping and identifying image locations.
I have no real idea what to call what I do. All I know is that this process produces pictures with a look I can get no other way. For me, the half dozen or so stellar new images I’m able to get in a year are worth the effort.
Editor’s Note: For more of Dimick’s images in full size, visit his Flickr page here, or view the Flickr album below.
Society of Environmental Journalists board member Dennis Dimick served as National Geographic’s environment editor for more than a decade. He is a 21-time Missouri Photo Workshop faculty member, and is co-founder of EyesOn.Earth, a project to inspire a new generation of environmental photographers. He received the Charles M. Sprague Memorial Award in 2013 from the National Press Photographers Association for service to photojournalism.
* From the weekly news magazine SEJournal Online, Vol. 4, No. 10. Content from each new issue of SEJournal Online is available to the public via the SEJournal Online main page. Subscribe to the e-newsletter here. And see past issues of the SEJournal archived here.
SEJ Publication Types:
Topics on the Beat:
Region:
Visibility: